I have said it before. Rails is awesome. I find myself creating a new web application in Rails rather than, say, ASP.NET or even PHP much more often. It is intuitive and uncomplicated. Command-line tools and pre-handpicked components allow me to focus more on writing code and implementing business logic.
While working on a Rails application, I was faced with a (reasonably) common situation — having one layout for the end-users and another for administrators. I had my admin pages all written and finished. My CSS framework of choice at the time I started was Ink, mostly because of its fresh UX and Bootstrap‘s aging grid system. When I was about to start with end-user pages, I found out about the release of Bootstrap v4.0.0 (something I had been waiting for since long). The examples made using this version were very much in line with what I wanted for my own purpose. I had made a decision: use Bootstrap for end-user pages and stick to Ink for the admin interface. Realizing this decision in Rails was not as easy as I had thought.
As good as the Rails documentation is, I frequently find myself wanting for more code snippets and examples for things that are apparently presumed to be too basic to explain. After stackoverflowing into the problem and applying some common sense, I came up with the following solution.
Step 1: Download and put the second CSS framework in “vendor”
Say, you want Bootstrap as your second framework. Download it and unzip it inside your app’s vendor folder.
Step 2: Add “vendor” to assets path
Instruct Rails to include the vendor folder while searching for assets (css, js and image files) by adding this line at the bottom of config/application.rb.
config.assets.paths << Rails.root.join('vendor') |
Step 3: Create a new CSS manifest
Create a new file at app/assets/stylesheets/bootstrap.css.scss. Import in this file all stylesheets required by the CSS framework to work. Note that you do not specify .css extension for imported files.
/* * This is a manifest file that'll be compiled into customer.css, which will include all the files listed below. * *= require_self */ @import "bootstrap-4.0.0/dist/css/bootstrap.min"; |
Step 4: Create a new JS manifest
Do the same at app/assets/javascripts/boostrap.js.
// This is a manifest file that'll be compiled into customer.js, which will include all the files // listed below. // //= require bootstrap-4.0.0/assets/js/vendor/jquery-slim.min.js //= require bootstrap-4.0.0/assets/js/vendor/popper.min.js //= require bootstrap-4.0.0/dist/js/bootstrap.min.js //= require bootstrap-4.0.0/assets/js/vendor/holder.min.js |
Step 5: Set the two manifests to precompile
Add this one line at the end of config/initializers/assets.rb. This will ensure bootstrap.css.scss and all stylesheets it imports are compiled as bootstrap.css. Similarly, all Bootstrap JS files will be compiled into a single file bootstrap.js.
Rails.application.config.assets.precompile += %w( bootstrap.js customer.css ) |
Step 6: Create a new layout
This is assuming that you already have a CSS framework properly setup in your layouts/application.html.erb. Create a new file at layouts/bootstrap.html.erb. Use any example from Bootstrap’s official website as an inspiration to fill this file. Mine looks like this:
    <%= csrf_meta_tags %>
<%= stylesheet_link_tag 'bootstrap', media: 'all', 'data-turbolinks-track': 'reload' %> |
<%= yield %>
<%= javascript_include_tag ‘bootstrap’, ‘data-turbolinks-track’: ‘reload’ %>
Pay special attention to these two lines:
<%= stylesheet_link_tag 'bootstrap', media: 'all', 'data-turbolinks-track': 'reload' %> <%= javascript_include_tag 'bootstrap', 'data-turbolinks-track': 'reload' %> |
First one will load the compiled bootstrap.css as a link element. Second one will do the same for the compiled bootstrap.js.
Step 7: Use the new layout in your end-user pages
Start by setting up the routes. We want all requests to /p/:page to be redirected to the show action in our “pages” controller. Eg., /p/home => pages#show, /p/pricing => pages#show. Add this to config/routes.rb:
get '/p/:page' => 'pages#show' |
Now, create the pages controller, app/controllers/pages_controller.rb, to serve the end-users:
class PagesController < ApplicationController layout "bootstrap" def show @page = params[:page] if @page.to_s.empty? @page = "home" end render template: "pages/#{@page}" end end |
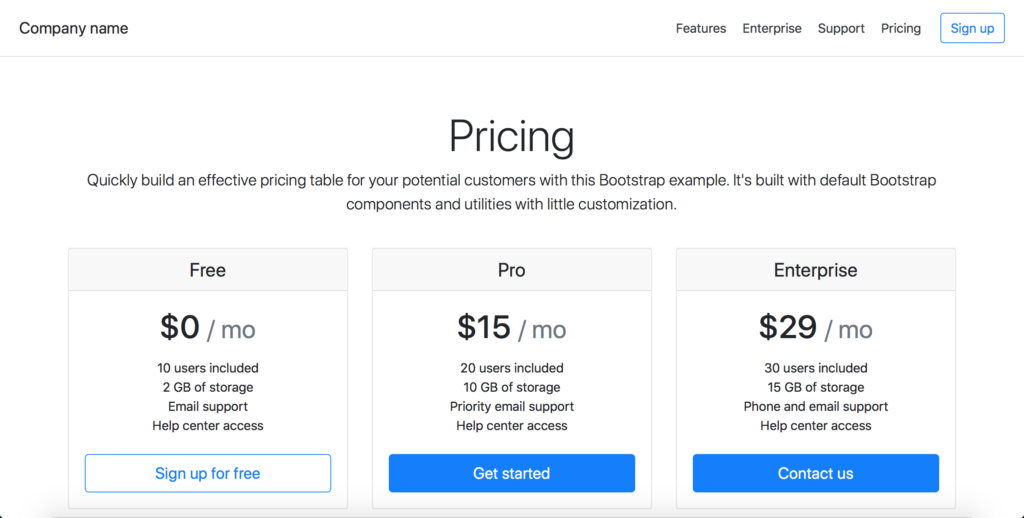
The last thing we need to do is create views that will be loaded in our new layout. Create a new directory pages inside app/views. Inside this, create home.html.erb and fill it with some HTML. Create as many additional views as you want. A Bootstrap view looks like this in my application:
